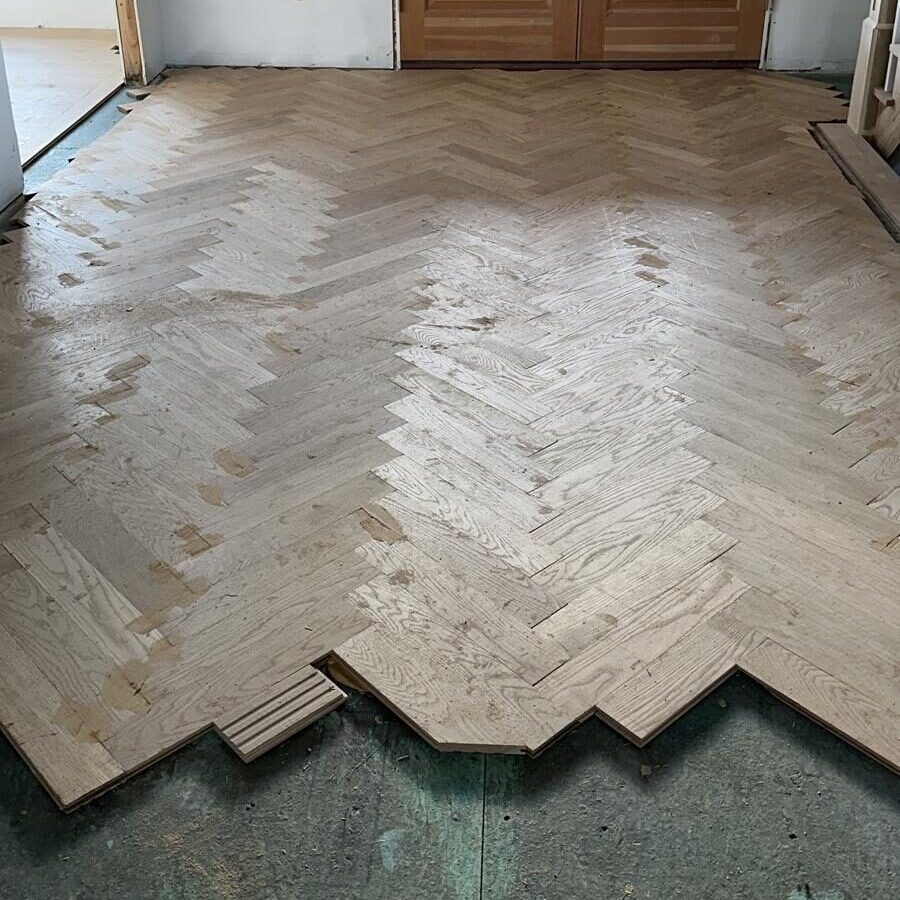
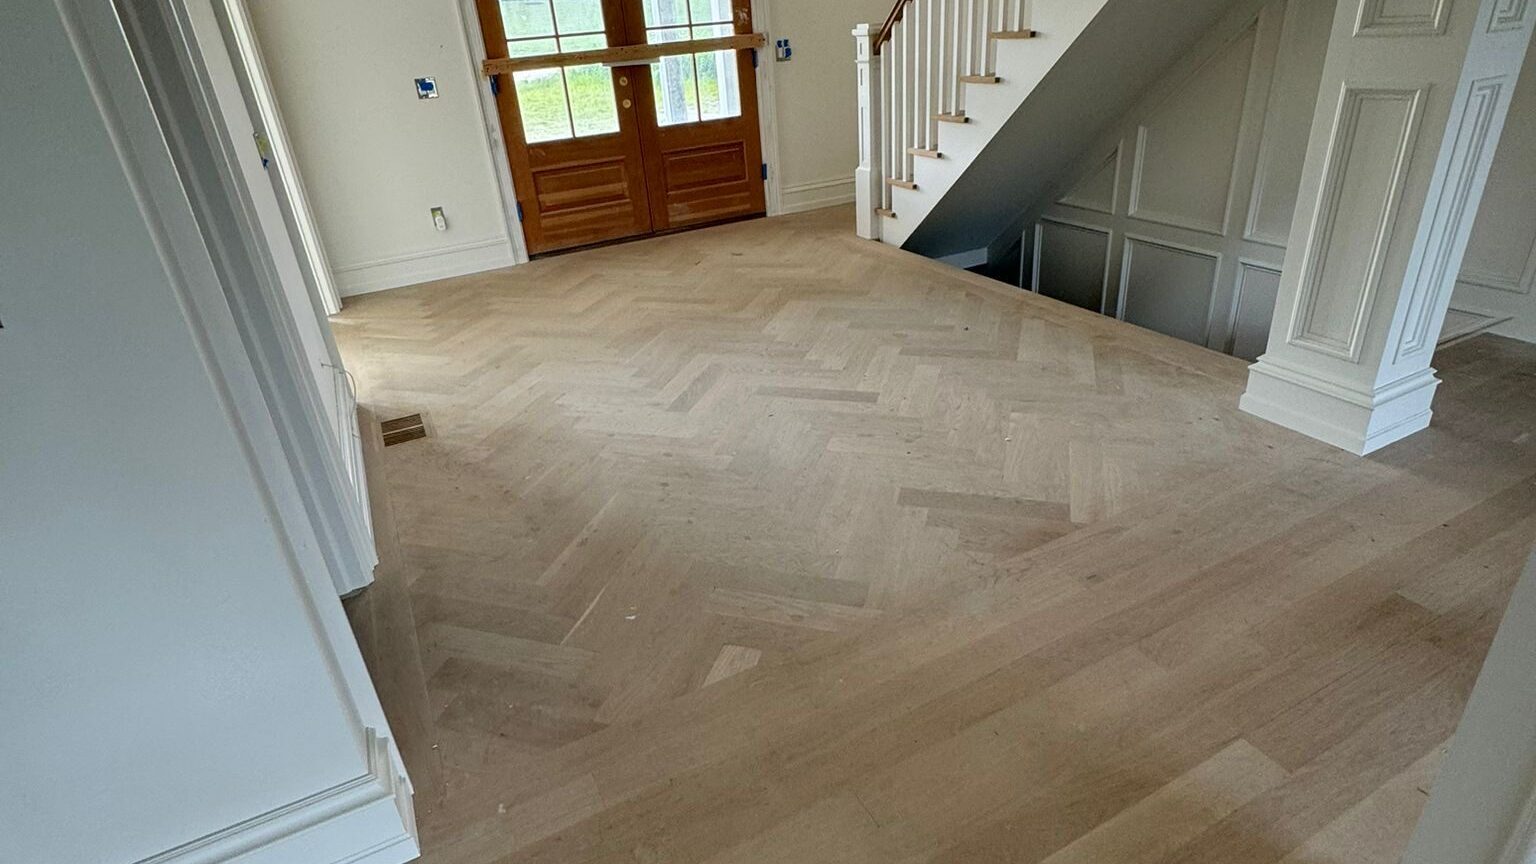
Herringbone flooring is a classic choice that adds sophistication and elegance to any space. Its distinctive V-shaped pattern, resembling the bones of a herring fish, has been used in homes and buildings for centuries, dating back to Roman times. Beyond its aesthetic appeal, herringbone flooring offers durability, versatility, and a design statement that stands the test of time. In this article, we’ll explore the herringbone pattern and share key insights into its installation process.


Why Choose Herringbone Flooring?
Herringbone flooring is more than just a beautiful pattern; it’s a practical and versatile design choice. Here’s why homeowners and designers love it:
• Elegant Appeal: Its intricate design enhances the visual interest of any room.
• Versatility: Works well with a variety of materials, including hardwood, tile, and luxury vinyl.
• Durability: Properly installed herringbone floors can last for decades with minimal maintenance.
• Timeless Design: It complements both modern and traditional interiors, making it a safe investment for long-term value.
Preparing for Installation
Step 1: Choosing the Right Materials
The most popular material for herringbone flooring is hardwood, such as oak or walnut, but engineered wood, laminate, and luxury vinyl are also excellent choices. Consider the space’s usage and the desired finish when selecting your material.
Step 2: Preparing the Subfloor
A clean, level subfloor is essential. Remove any old flooring, debris, and imperfections, and ensure the surface is dry. Installing an underlayment can improve sound insulation and protect against moisture.
Step 3: Laying Out the Pattern
The key to herringbone is its precision. Mark the centerline of the room as a reference point and plan the layout to ensure symmetry. Dry-laying a few rows helps visualize the final look.
Step 4: Cutting and Fitting
Each plank must be cut precisely to fit the pattern. It’s crucial to measure twice and cut once to avoid gaps and ensure a snug fit. Using a high-quality saw ensures clean edges.
Step 5: Installing the Planks
Adhesive or nails are used to secure the planks to the subfloor. Work methodically from the centerline outward, ensuring each piece is properly aligned to maintain the pattern.
Step 6: Finishing Touches
Once the flooring is installed, sanding and sealing are necessary for wood floors to enhance durability and create a flawless finish. If using pre-finished materials, this step may not be required.
Common Challenges and Tips
- Time-Consuming: Herringbone installation takes more time than traditional patterns. Patience is key!
- Precision Matters: Even minor misalignments can disrupt the pattern. Double-check alignment frequently.
- Seek Professional Help: For a perfect finish, consider hiring experienced installers who specialize in herringbone patterns.
Conclusion
Herringbone flooring is a timeless design that elevates the ambiance of any space. While installation requires precision and effort, the results are undeniably worth it. Whether you choose hardwood for a classic look or luxury vinyl for a budget-friendly option, herringbone floors bring charm, style, and durability to your home.
If you’re considering a herringbone floor for your next renovation, Clinger and the team at HGT Painting & Floors LLC are here to help! With expert advice and skilled craftsmanship, we ensure your flooring dreams become reality. Reach out to us today for a consultation and take the first step toward transforming your space!
Take a look at this job done
